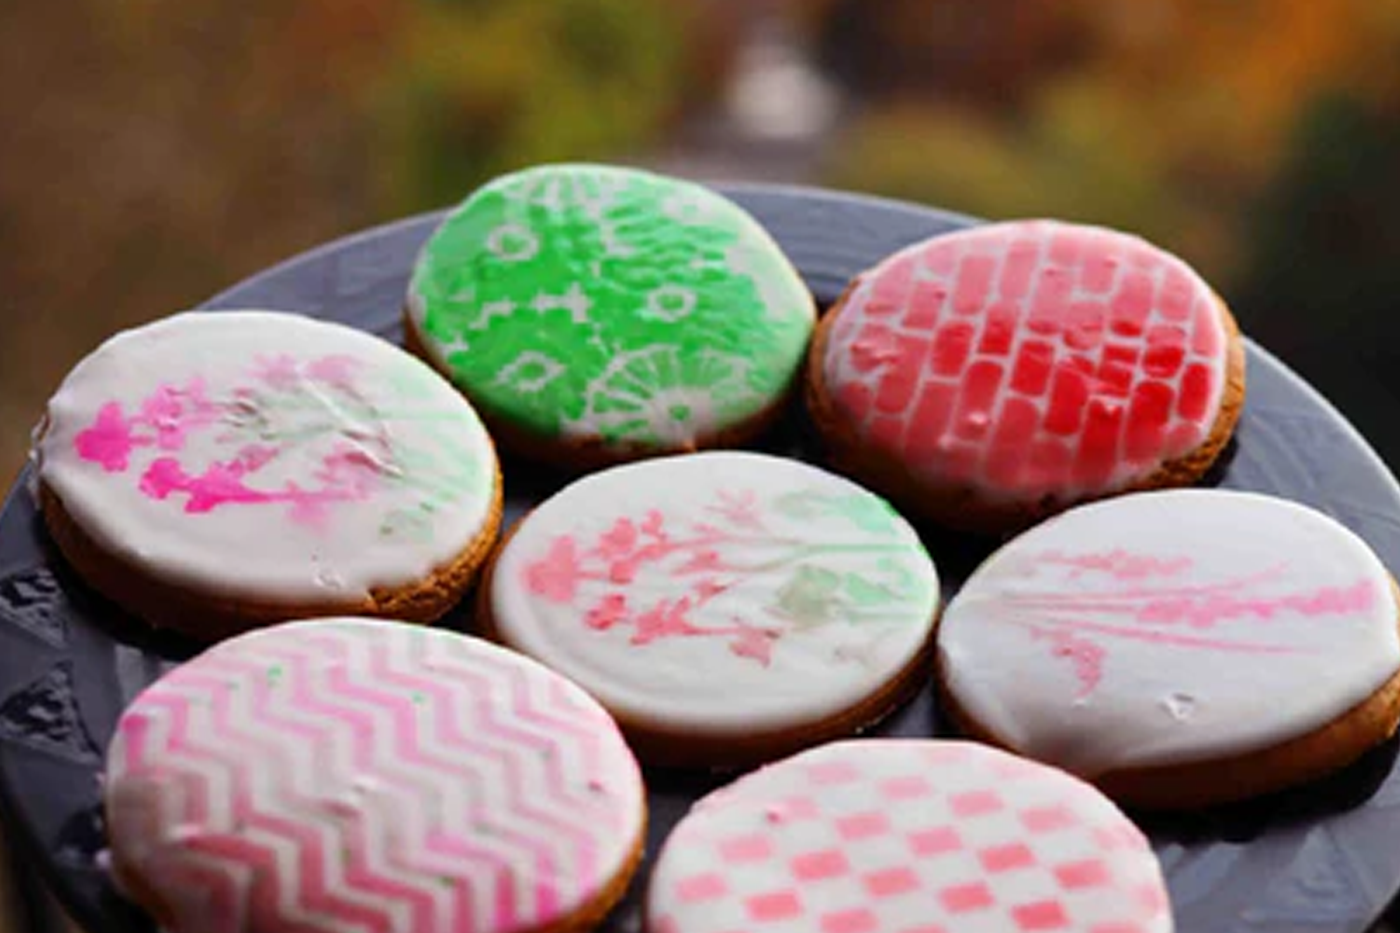
Curling up next to the fire with both hands cupped around a steaming mug of hot cocoa is the quintessential winter pastime. Nothing is better as a snow day treat or Christmas Eve dessert. Using stencils with hot chocolate can add visually creative and flavorful dimensions - nutmeg, allspice, cinnamon and pumpkin spice are all great options, but you can use whatever you like. We call them “coffee” stencils, but they’re great for any kind of foamy drink.
First thing's first: What is milk froth? Milk froth is the white foam on top of cappuccinos, macchiatos, mochas and lattes. It is milk that has been mixed until fluffy. We use it to make a solid base for coffee art.
What you’ll need to stencil hot chocolate
- Coffee stencils
- Mug
- Hot chocolate mix
- Frothable milk or milk alternative to create base for the stencil design (this guide highlights types of milks that are frothable)
- Milk or milk alternative, optional (for mixing with hot cocoa, does not need to froth)
- Frothing device (milk frother, handheld milk frother, French press, whisk and bowl)
- Spoon
- Spice of choice (cocoa powder, cinnamon, nutmeg, and allspice are our faves)
- Sifting device (flour sifter, spice sifter, any sort of mesh strainer)
- Whipped cream (optional)

The Process of Stenciling on Hot Cocoa
1. Mix hot chocolate
Hot chocolate is the most flavorful when mixed with milk or a milk alternative. This type of milk does not need to froth.
Heat up your milk in a microwave or on the stovetop in a saucepan. It should be hot to the touch.

Following the instructions on your hot chocolate, pour in the recommended quantity of chocolate powder. For our mix, we only needed two teaspoons of powder for an 8 oz. mug. Use the spoon to thoroughly mix the powder into the hot milk.

2. Froth milk to create foam
The method for frothing depends on what type of tool you have at home. A milk frother is the easiest and fastest way to create foam, but these aren't a very common kitchen appliance. If you have one, great! If you don't, our favorite easy method is to use whipped cream.
Milk frother: Pour 2-3 tablespoons of milk into the milk frother. Froth for around 15-20 seconds until semi-stiff (will not be liquidy but will also not form peaks easily).
Handheld milk frother: Heat the milk until hot. Pour 2-3 tablespoons of milk into a cup or bowl and whisk with the frother on until large bubbles start foaming. Tap the bowl on a flat surface to remove large air bubbles.
French press: Heat the milk until hot. Pour into the press and plunge up and down for around 30 seconds. Pour into a pitcher or cup and tap on a flat surface to remove the bubbles.
No milk frother: Heat the milk until hot. Pour into a bowl and whisk vigorously until foamy bubbles form. Tap the bowl onto the counter to remove large bubbles.
Whipped cream: You can use either store-bought whipped cream or make your own. Homemade whipped cream will provide a smoother texture.
3. Top hot cocoa with foam
Make sure the hot chocolate is completely still and not swirling from being mixed. Slowly pour milk foam on top of the hot chocolate. There may be some non-frothed milk that pours in first, but that is normal. Pour the froth as evenly as possible over the top of the cup, and do not fill the mug past the rim. If any part of the froth is above the rim, it will stick to the stencil and impede the final design.

If needed, use the back of a spoon to smooth out the top of the milk foam. A flat surface is ideal for using coffee stencils.
If using whipped cream, scoop or spray it over top of the hot chocolate and use the back of a clean spoon to smooth it out.
4. Place the stencil and sprinkle powder
Sift the powder or topping you want to place over the stencil. Though it may seem unnecessary, sifting allows for the powder to be evenly distributed and any coarse bits to be separated so you only get the finest topping, resulting in the best stencil outcome.
We used one of these shakers, but you can also use something like a mesh strainer (for tea or otherwise) to tap spices over top of the stencil.

Rest your stencil on top of the rim of the mug and center the design. If using a shaker, raise it 6 or so inches above the mug and gently, slowly shake out your powder. If using a strainer, place your spice into the strainer and gently tap it against your hand 6 inches above the mug. Cover the design with powder. The best way to check if you have used enough is to look down at the stencil from directly above. If you do not see any white, you have covered the area.

5. Remove the stencil and enjoy delicious cocoa
Easily, the best part of this project (apart from drinking fresh hot cocoa) is removing the stencil to reveal the cocoa art you've created. Take some pictures, and enjoy the extra effort put into making a creative, cozy drink and sip away!

Check out our range of coffee stencils to find the right one for you, or design your own custom coffee stencil.
Feelin’ a little extra spicy? Try out our Irish coffee recipe to add a real kick to your morning routine.


Leave a comment
This site is protected by hCaptcha and the hCaptcha Privacy Policy and Terms of Service apply.