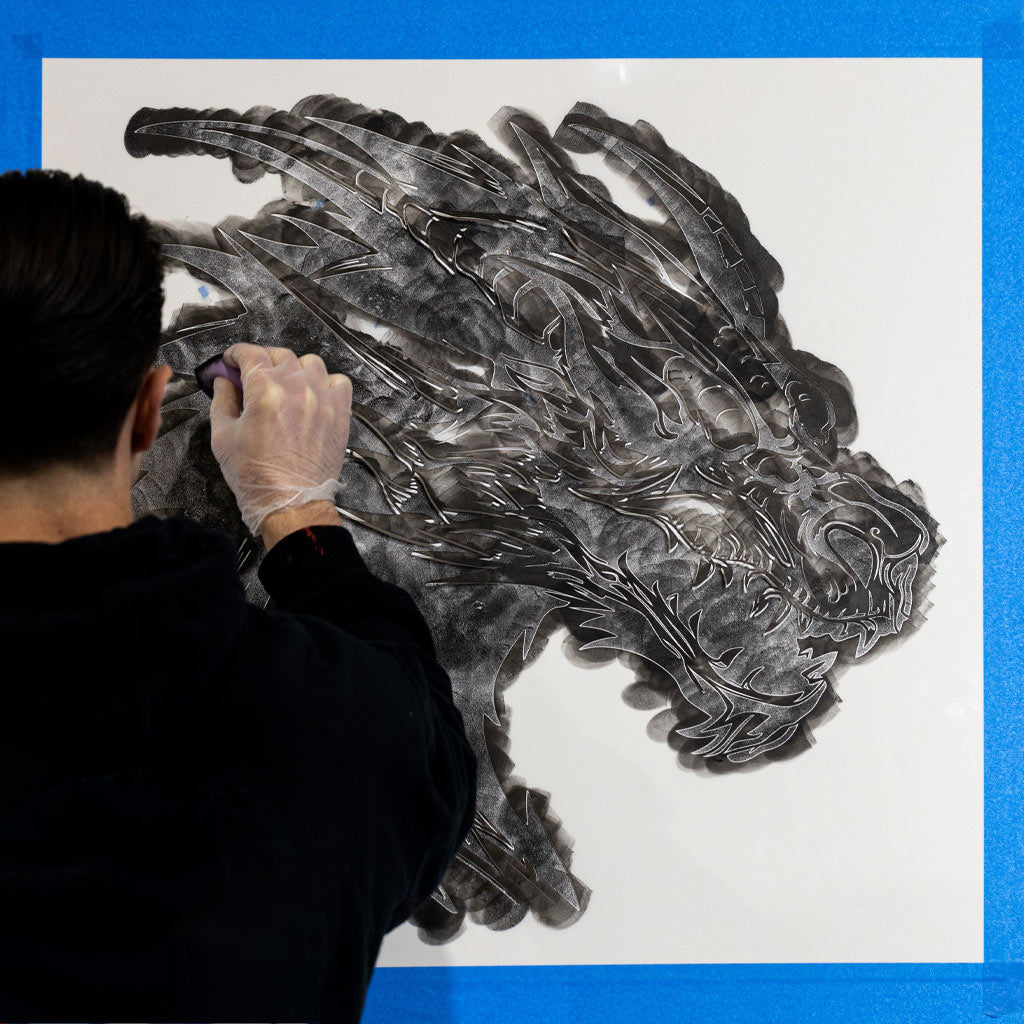
Transform your morning coffee into café-quality art with coffee stencils
Whether you're making lattes, cappuccinos, or hot chocolate, stenciling is an easy way to add professional-looking designs to any foamy beverage. This guide will show you exactly how to create stunning coffee art at home.
Understanding Milk Froth
Before we dive in, let's cover the basics. Milk froth is the fluffy white foam you see on top of cappuccinos, lattes, and macchiatos. It's created by aerating milk until it becomes light and foamy, providing the perfect canvas for your stencil designs.
What You'll Need
Gather these supplies before you start:
- Coffee stencils (browse our collection or create a custom design)
- Mug
- Coffee or espresso
- Frothable milk or milk alternative for creating foam
- Additional milk for mixing with coffee (optional, doesn't need to froth)
-
Frothing device - Options include:
- Electric milk frother
- Handheld milk frother
- French press
- Whisk and bowl
- Spoon for smoothing
- Spice powder - Popular choices include cocoa powder, cinnamon, nutmeg, or allspice
- Sifting device - Flour sifter, spice shaker, or mesh strainer
- Whipped cream (optional alternative to milk froth)
Step-by-Step Instructions
Step 1: Pour Your Coffee
Pour your brewed coffee into the mug, adding your desired amount of milk if you like. Leave approximately 1 inch of space at the top of the mug to accommodate the foam layer.
Step 2: Create the Milk Foam
The frothing method depends on your equipment. Choose the technique that works best for your setup:
Electric Milk Frother: Pour 2-3 tablespoons of milk into the frother and froth for 15-20 seconds until semi-stiff. The foam should hold its shape but not form stiff peaks.
Handheld Milk Frother: Heat your milk until hot (but not boiling). Pour 2-3 tablespoons into a cup or bowl and whisk with the frother until large bubbles form. Tap the container on a flat surface to eliminate large air bubbles.
French Press Method: Heat milk until hot, pour into the French press, and plunge up and down vigorously for about 30 seconds. Transfer to a pitcher and tap to remove excess bubbles.
No Equipment? Use a Whisk: Heat milk until hot, pour into a bowl, and whisk vigorously until foamy bubbles appear. Tap the bowl on the counter to pop large bubbles.
Quick Alternative - Whipped Cream: Use store-bought whipped cream or make your own for a smoother texture. This is the easiest method if you don't have frothing equipment.
Step 3: Top with Foam
Let your coffee settle completely—any swirling will disrupt the stenciling process. Slowly and gently pour the milk foam on top of your coffee. Some liquid milk may pour out first before the foam follows, which is normal.
Important: Don't overfill! The foam should reach just below the rim. If foam extends above the rim, it will stick to your stencil and ruin the design.
Use the back of a spoon to smooth the foam into an even, flat surface. This creates the ideal canvas for your stencil.
If using whipped cream, either scoop or spray it over the coffee, then smooth with the back of a clean spoon.
Step 4: Sift the Powder
Sifting is crucial for achieving clean, professional results. It ensures even distribution and removes coarse particles that can create an uneven finish.
Place your chosen spice (cocoa powder, cinnamon, etc.) in a sifter, shaker, or mesh strainer. This separates the fine powder from any clumps.
Step 5: Apply the Stencil
Gently rest your coffee stencil on top of the mug's rim, centering the design over the foam.
Hold your sifting device 6 inches above the mug. Gently shake or tap the powder over the stencil, covering the entire design area.
Pro tip: Look straight down at the stencil from above. If you can't see any white foam showing through, you've applied enough powder.
Step 6: Reveal Your Design
This is the most satisfying moment! Carefully lift the stencil straight up to reveal your beautiful latte art.
Snap a photo to capture your creation, then sit back and enjoy your artfully crafted beverage.
Tips for Best Results
- Ensure your foam layer is completely flat before stenciling
- Hold the sifter at a consistent height (about 6 inches)
- Apply powder slowly and evenly
- Remove the stencil in one smooth, straight motion
- Practice makes perfect—don't be discouraged if your first attempts aren't flawless
Take It Further
Ready to explore more coffee art? Check out our full range of coffee stencils to find designs that match your style, or design your own custom coffee stencil for truly personalized beverages.
Feeling adventurous? Try our Irish coffee recipe to add a spirited twist to your coffee routine!


Leave a comment
This site is protected by hCaptcha and the hCaptcha Privacy Policy and Terms of Service apply.