How to Make Custom Packaging with Stencils
Stencil Stop was able to take the logo below and turn it into a simple stencil that could be transferred onto mailers.
Step 1: Convert your logo into a stencil.

Step 2: Gather your materials.
Materials needed:
- Custom Mylar Stencil
- Mailers or other packaging materials
- Acrylic paint (or other preferred paint)
- Makeup sponge
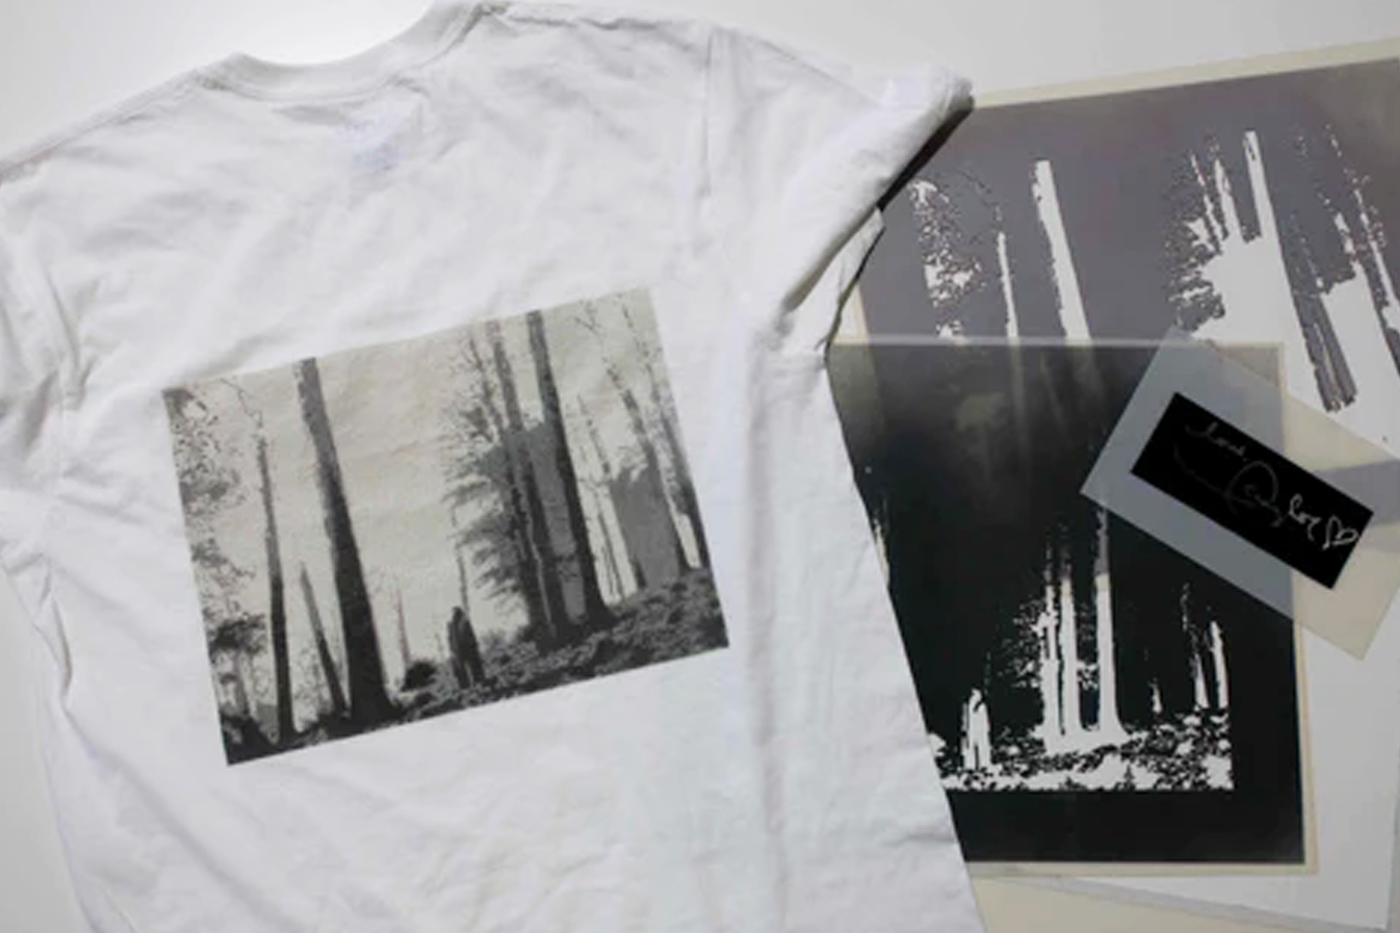
I chose to use EcoEnclose recycled and biodegradable mailers. Shown below is a recycled paper apparel mailer for shirts hand printed with a stencil from Stencil Stop.
![]()
Step 3: Test painting application methods.
There are a lot of different possibilities when it comes to painting/spraying onto the mailer. I chose to use acrylic paint, because it is accessible, durable and easy to use. I picked a dark blue that would contrast well with the brown paper.

I did some tests on a different piece of paper before moving onto the packaging. The mailers are expensive, so I don’t want to mess up or waste anything. Then, I took my stencil and placed it in the center of my mailer. I also made sure to put my paint and sponge beside my workspace so I could easily go back and forth from paint to stencil.
I chose to use a makeup sponge to dab paint onto my mailers because they are very dense, which allows them to distribute paint evenly across the surface. Disposable ones work best. They cost about $3 for a pack of 20.

Step 4: Carefully apply paint to the packaging using the stencil.
I chose not to tape down the edges because I had many mailers to print, but if you would like more stability, feel free to use masking tape. Instead, I simply held the stencil down in the areas I was printing.
If you use the makeup sponge method, take a small amount of paint on your sponge and dab over the stencil. Try not to let any paint pool up, because it will lead to the paint bleeding outside of the stencil.

I continued with the holding and dabbing process until the entire stencil was covered. Then I removed the stencil - it's that easy! On these paper mailers, acrylic paint takes just a few minutes to dry, so they're ready for quick packaging and shipping to customers.

Small business owners, are constantly looking for creative ways to give people a unique buying experience. Additionally, a strong brand identity is necessary for a successful business. Personalized packaging helps create a special experience for customers, in addition to letting them know what's arrived at their doors.
A lot of companies will charge up the wazoo for custom printed packaging. But by using a single stencil, you can customize as many mailers as you want. It’s a super easy solution, and a Custom Mylar Stencil will last you a looooong time! Stencils can be used to provide a well-branded product experience at only a fraction of the typical cost.
2 comments
As an aside, if you need cardboard boxes or other packaging products, please visit Tongencustom -Focus on sustainable and environmentally friendly packaging.
tongencustom
Hi, are this good to use for screen printing (clothing) ?
Thnks
Jemerie
Leave a comment
This site is protected by hCaptcha and the hCaptcha Privacy Policy and Terms of Service apply.