How to Make a DIY Wedding Welcome Sign
My friend Taylor got married a few weekends ago.
Naturally, being the kind stencil-company-running gentleman I am, I asked what I could do to help make his wedding more beautiful, awesome, and maybe tad less expensive.
Besides, we help tons of other customers do the same thing for their betrothments with custom wedding stencils, so I didn’t have to think twice about hooking my brother up.
He made it easy on me. All they wanted was a gorgeous sign that every single wedding attendee would see as the entered the wedding venue for the first time.
No pressure.
Here are the materials I used and the steps I took to create the “Welcome” sign that was placed at the entrance of his wedding.
Materials You Need to Make a DIY Wedding Sign
- Custom stencil from Stencil Stop
- 3 x 2 foot pine wood board
- Choice of wood stain (I used this one)
- Behr pure flat white paint (it’s white paint, so use whatever you want here - sample quantity is enough)
- Rust-Oleum Gloss Crystal Clear Spray
- Something to practice stenciling on (I used big sheet of cardboard)
- Painter’s tape
- Stencil brush
- Fine tipped paint brush
- Measuring tape
- Pencil
- Sandpaper (optional)
The Process of Stenciling a Welcome Sign
Practice Makes Perfect When It Comes to Stencils
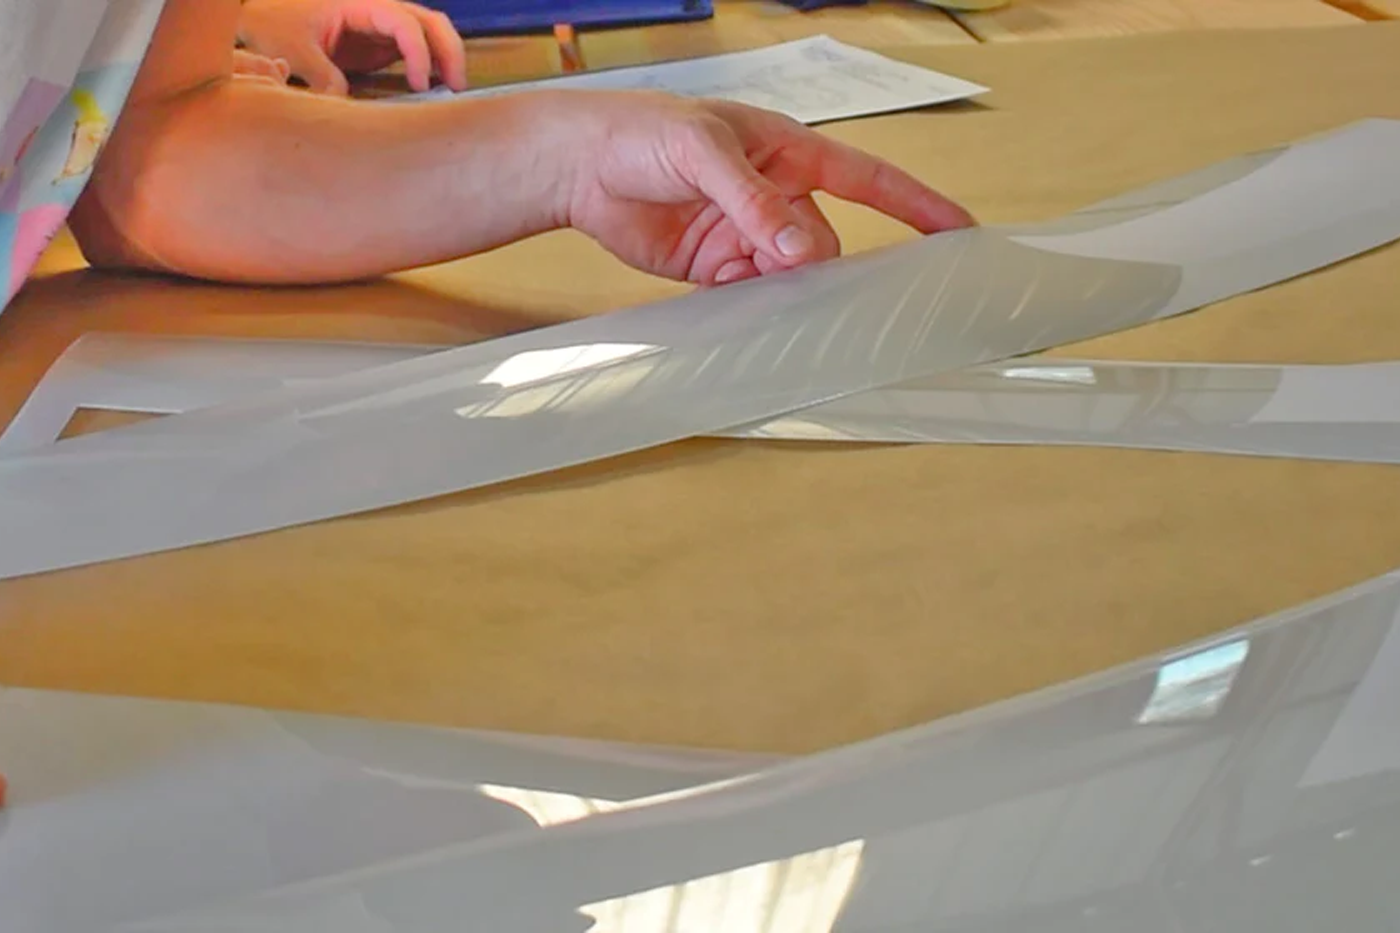
I used a piece of cardboard to practice on for this project because I wanted to make sure that it was going to turn out well. I taped the stencil down on the cardboard and went to work.

The stencil didn’t always lay completely flat, so I had to hold it down in certain areas, which wasn’t difficult. Stencils with relatively simple font text don’t typically have many small, tricky areas.

Carefully Stain The Wood
I recommend sanding the board prior to staining (I did not do this, unfortunately). I let it dry overnight and stained it again the next day so it had a consistent, dark coat.

Center the stencil on your board
Use the tape measure to determine the center of your board. Mark it with a small pencil notch. Line that up with the center of your stencil.

As you can see, my stencil looks slightly off-center based on the plastic as it sits on top of the board. But, the center of the art on the stencil was actually aligned with the center of the board, so it was exactly where I wanted it to be!
You can also see that I did another practice run with white paint. I wanted to make sure I got it exactly right for the wedding.
Apply Paint to the Stencil and Wood
Apply a light amount to the stencil brush and dab lightly. If you apply too much, it might run under the guidelines of the stencil. Depending on the level of variation in your wood surface, the paint might catch inside the grooves and run regardless of how carefully it is applied.

I didn’t sand the board, so the grooves were significantly more pronounced than they would have been. I also got a little generous with my paint application on the brush. The combination of these two factors contributes to the all the sloppiness around the edges of the text.

Side note: This project would have been even easier if I had access to an adhesive stencil material that specializes in designs with fine details. As of this writing, I set up our new machine yesterday, so we didn’t have access to this yet, but we do now! Stay tuned for more posts about how to use these.

Apply touch up paint
I used both paint and stain to complete the details of the wording. On the larger word “welcome,” even though the paint bled in many areas, I was able to simply thicken the letters a little bit in those areas using the paint. For the smaller lettering, thickening them with paint would have created inconsistencies that would have been much more noticeable, so I mostly used the stain to cover up the messy areas with the fine-tipped paintbrush. I also closed off the bridges created by the stencil and made the white paint more prominent in areas where I didn’t lay enough paint down with the stencil brush.
I find you have to walk away from projects like this after a while because you lose perspective if you’re looking at it so closely for such a long time. Therefore, it took me a handful of sessions over a two days to complete the sign’s lettering to the level of detail I wanted to achieve.
Spray the gloss to make it pop
This one’s pretty easy! Just follow the instructions on the bottle. I did 3 or 4 coats on both sides and along the edges because I really wanted the thing to pop.

There are options online for custom wedding signs that are more or less the same price as all the materials for this project. Those companies will offer a limited number of fonts and finishes, but they won’t allow you the high level of customization that a custom stencil will. Additionally, creating this for my friend and his wife was super fun and fulfilling for me personally. They loved it. I bounced the ideas and fonts and spacing off of them until they approved the final revision. Then they got something that was even better than they expected, and now they’re going to hang it up in their apartment (so they said… I won’t hold them to it, ha!).
Here’s the final version.

Written by Colin Mitchell
Leave a comment
This site is protected by hCaptcha and the hCaptcha Privacy Policy and Terms of Service apply.