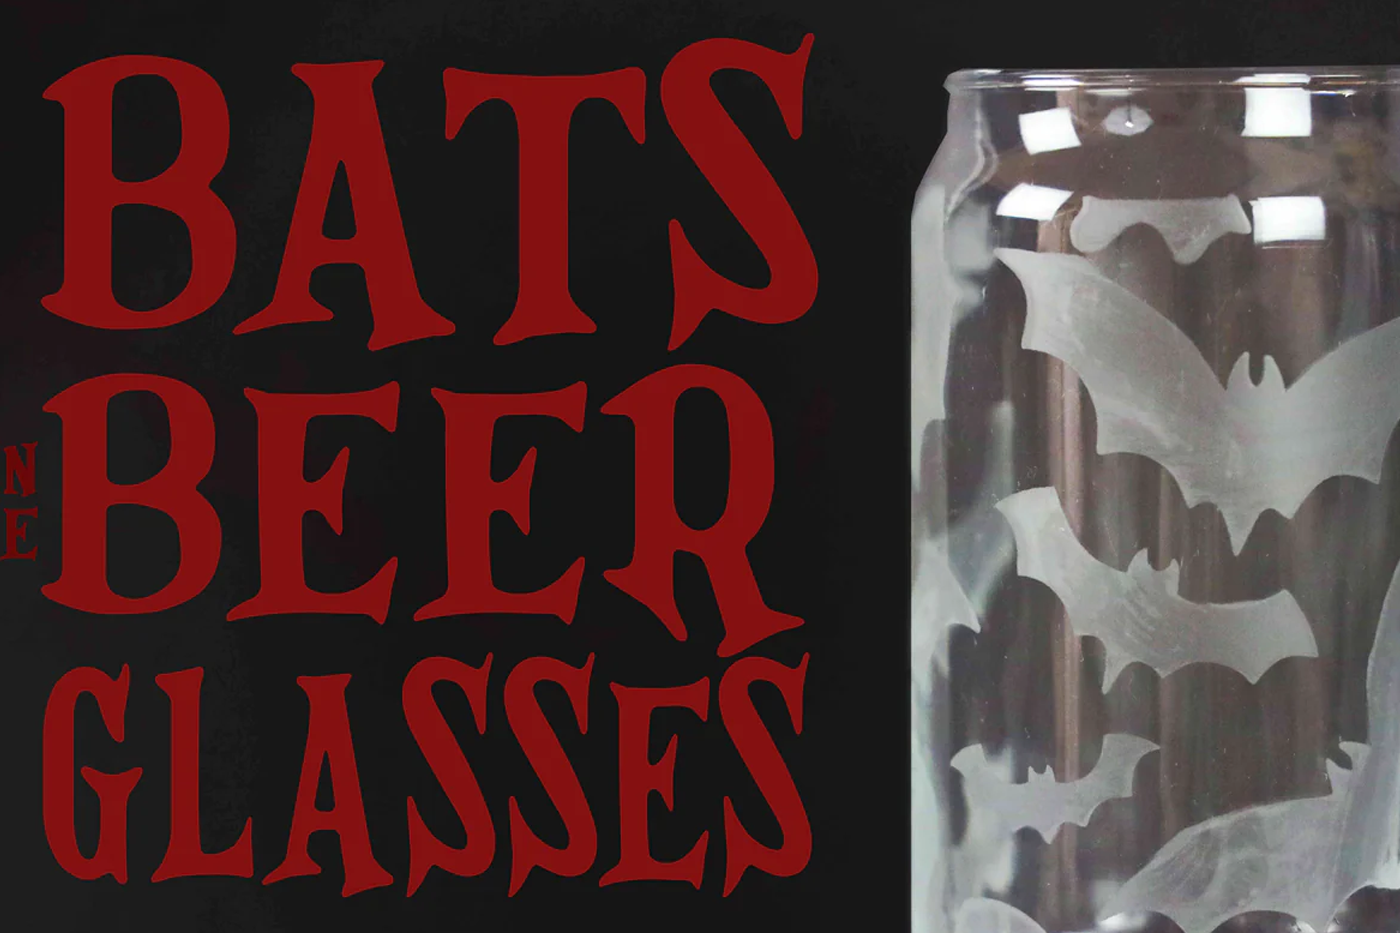
If you’re looking for an easy and spooky craft, let us help you out! Ouija boards are staples in Halloween decor (and party activities) and are incredibly simple to make.
Ouija boards were first spotted in America in the 19th century with the rise of spiritualism. They were used by many to communicate with the dead, from common people to even Mary Todd Lincoln in the White House in 1862. It eventually was successfully patented and sold by a toy company. Whether you are using your board to communicate in a serious or playful way, Ouija boards are bound to liven up any Halloween.
DIY Ouija Board Materials:
- Ouija Board Stencil
- Wood board (the same size as your stencil, we used a 8x12 inch)
- Dark wood stain (such as mahogany or cherry)
- Black spray paint
- Rag
- Gloves
How to make a Ouija Board

Step 1). Stain your wood
We want to begin by giving our wood some color before using a stencil. Remember to wear gloves when using stains.
Dip a rag into your chosen color and wipe it with the grain onto your wood piece.

Make sure to leave no pools of liquid and to wipe all excess away. Stain is very potent, so you will not need to use much for this project.
Allow the stain to dry for the allotted amount of time on the can.
Step 2). Place your stencil
Placing your stencil is very easy for this project! Simply line up the edges of the stencil with the edges of the wood. If you would like to secure your stencil more, feel free to use a spray adhesive on the back of the stencil.
Step 3). Spray paint
Make sure to shake the can and do a test spray before beginning. As always, hold your spray can 10-15 inches away from the painting surface. Start in short bursts to get comfortable and to avoid overspraying. Spraying too close to the surface or spraying too much paint can cause paint bleed underneath the stencil.

Step 4). Finishing touches
To make the Ouija board look like it’s been around for centuries, we added a little pizazz. If you hold down the spray can nozzle halfway, it will spritz tiny dots of paint. The little details make the board look more worn.

Aaaand we’re done! Let us know if any spooky spirits come to visit!
%20and%20are%20incredibly%20simple%20to%20make.%C2%A0%0AOuija%20boards%20were%20first%20s...)
Leave a comment
This site is protected by hCaptcha and the hCaptcha Privacy Policy and Terms of Service apply.