How to Stencil Easter Eggs
I attempted to make some Easter decorations with plastic stencil negatives and positives with an array of results. All stencils in this post can be found at Stencil Stop.
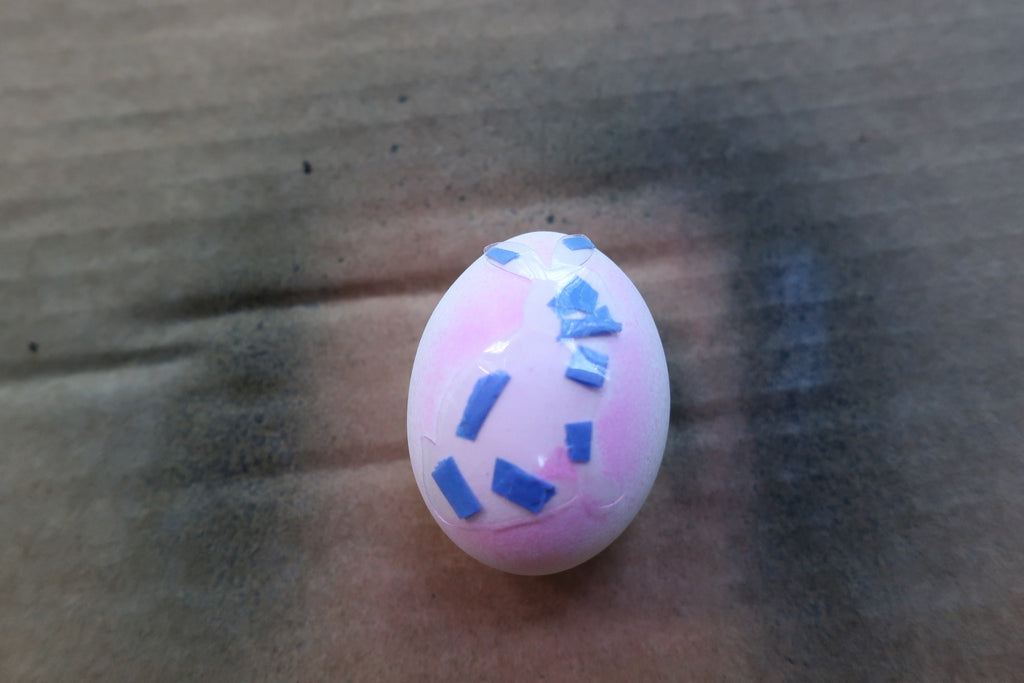
Starting out, we used painter’s tape for the back of the stencil negatives.

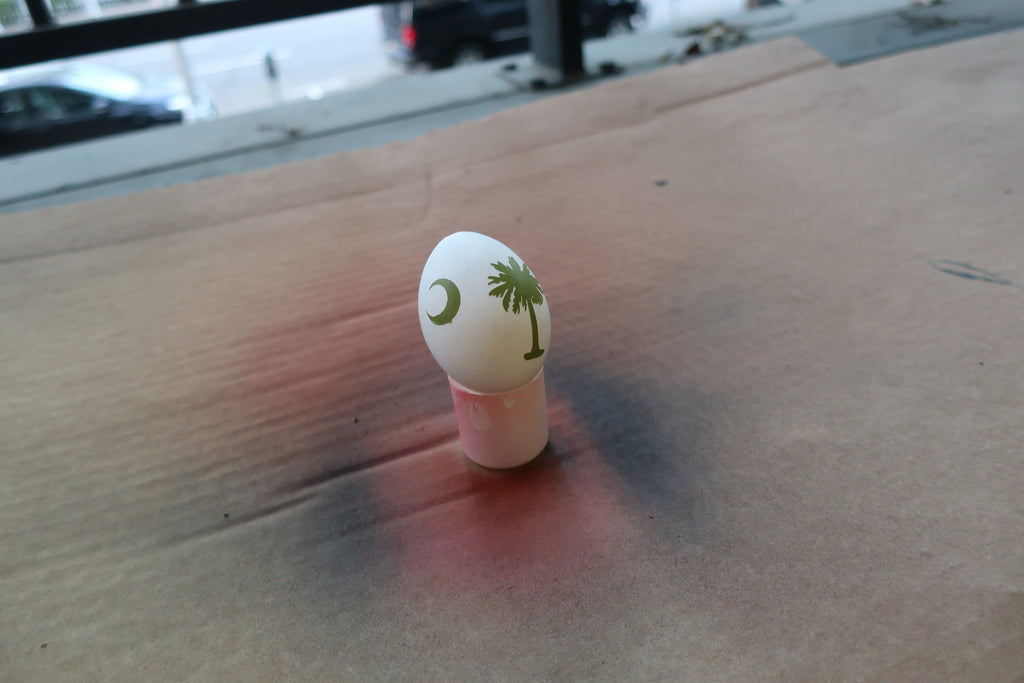
Then, we painted the eggs with a food grade Wilton color mist spray. I had these leftover from stenciling cookies a while back. I put the cap from the spray under the egg to give it a slight lift so it wouldn’t roll around when I sprayed it.
Easter Egg #1 from Colin Mitchell on Vimeo.
Taping the back of the negatives took a while, so we traced some vinyl with the stencils (the whole thing, not the negatives) and cut them out so we could stick them directly onto the egg surface. This was a much faster and better process.

As you can see, we basically now have a sticker that can be used instead of the stencil negative.
Some of these worked better than others. Some designs we able to lay right down on the eggs while some had too much surface area to lay down properly.
Here’s a tip: the food spray never really dries. It’s not like normal spray paint. I only used it because it was what I had laying around. If I have normal spray paint, I would have waited the recommended drying time. For these eggs, I had to avoid touching the sprayed areas while peeling off the negatives and the vinyl. After that, I sprayed the eggs a few times with Rust-O-Leum Crystal Clear Enamel (which defeated the purpose of the food grade color spray because now I can’t eat them if I wanted to, but oh well). This sealed up the spray a little bit so it wasn’t completely wet to the touch.


I got a few good-looking, displayable eggs out of this batch. It’s a trial and error process because some designs are more finicky than others. Keep scrolling to see the end results and the complete instructions.


How to Stencil Easter Eggs:
- Use stencils to create a sticker out of tape, vinyl, or other adhesive material.
- Place a negative onto the egg you want to stencil.
- Put the egg in a stable place where it won’t roll around.
- Lightly spray with paint or food grade color spray. For food grade spray, try to keep it as light a dusting as possible because it will bead up fairly easily.
- Wait for the egg to dry and remove the adhesive stencil negative.
- Finish with a gloss enamel or display as is.


Leave a comment
This site is protected by hCaptcha and the hCaptcha Privacy Policy and Terms of Service apply.