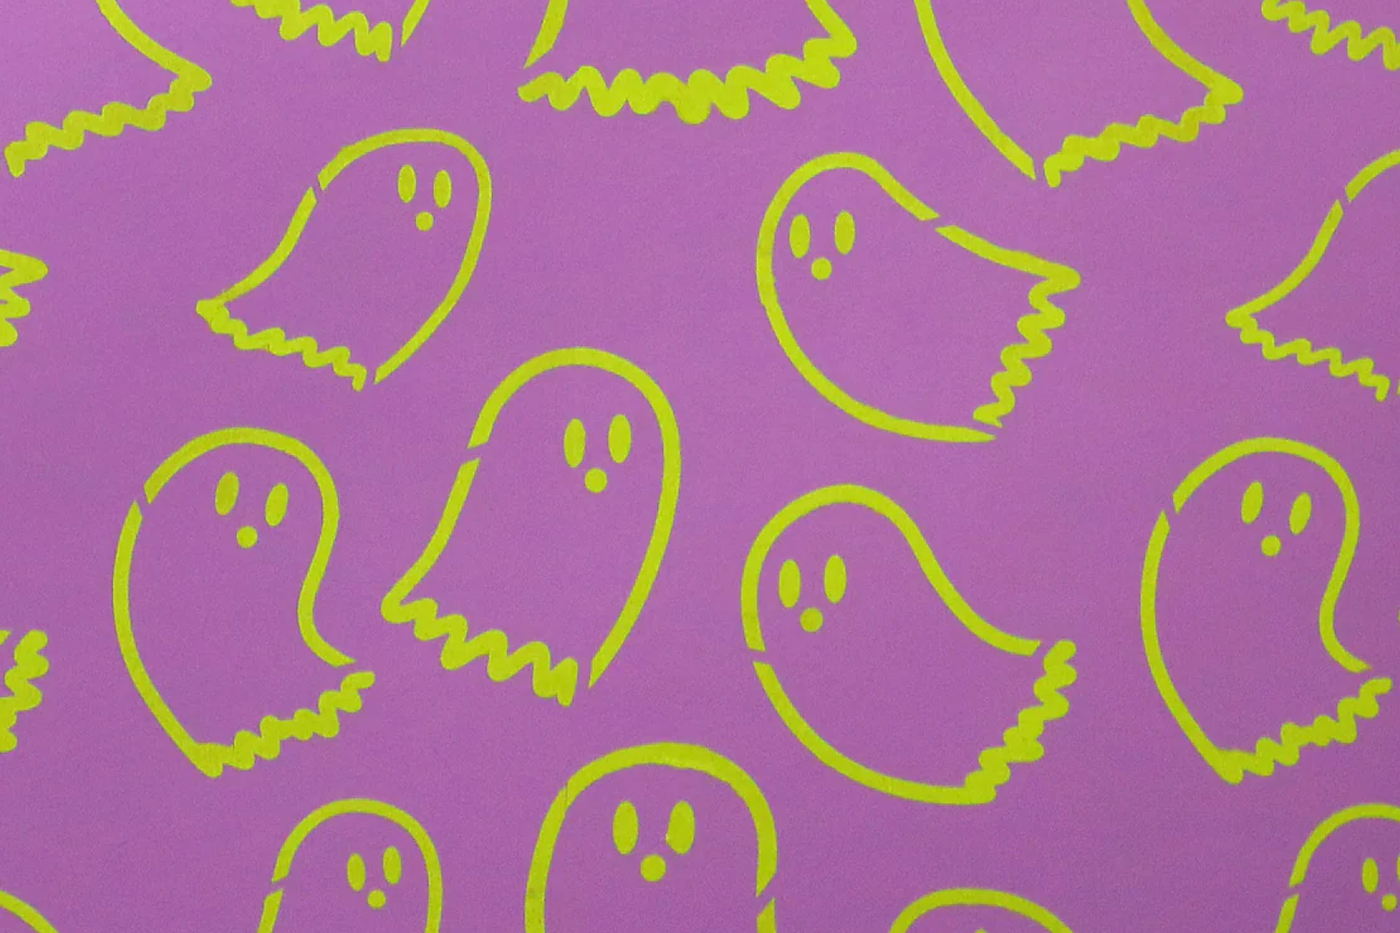
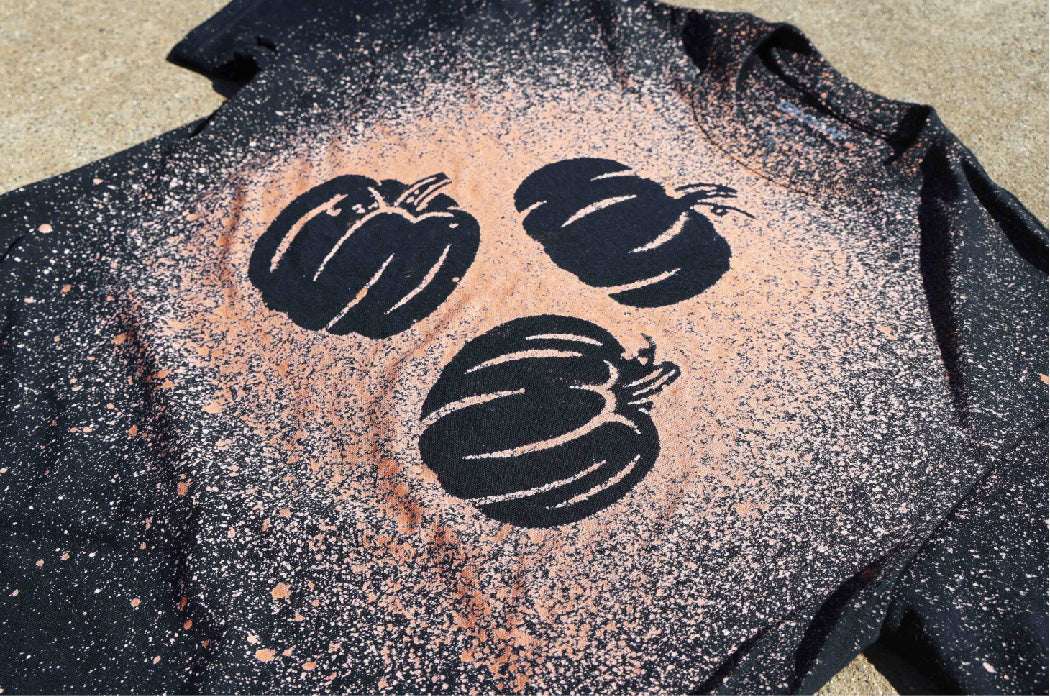
Every kid needs a trick or treat bag, whether it be a little tote bag or even just a pillowcase. Get it ready for Halloween by adding one of our stencils!
This project is easy as can be, with just a few simple steps and materials. We’ll be using a process similar to this project, where we paint a t-shirt using a sponge and ink.
Materials:
- Trick or treat adhesive stencil
- Tote bag or pillowcase
- Fabric paint
- Makeup sponges
- Cardboard
Step 1). Prep you fabric surface

Step 2). Peel and place stencil
Slowly and gently peel your stencil off of its backing. For more instructions on how to use the stencil without ripping it, check out this article about adhesive stencils.
Place your stencil in your desired location on your bag.
To secure each piece of the stencil to your surface, we recommend rolling a cylindrical object against the stencil. This can be a can, cup, rolling pin, etc.

Step 3). Paint
Mix your desired paint color, today we used orange. Arrange the paint so that you can dip a sponge in it, then dab out excess paint (like a paper plate).
When using a stencil and sponge, it is important that you do not use a lot of paint at a time. After dipping your sponge in paint, dab it on a paper towel or other surface. We recommend using makeup sponges because they are dense and are able to distribute small amounts of paint at a time.
After your paint is prepared, use your sponge to dab it onto the stencil design. Bounce the sponge up and down to get the most even coverage.

Step 4). Remove stencil
Once the stencil is covered in paint, you can peel it off.
If you would like to, you can iron the painted area once it is dry to help seal it. This is especially helpful if you plan on washing the fabric often.

Added bonus: Phoebe's going for a ride!

Be safe out there, and Happy Halloween!


Leave a comment
This site is protected by hCaptcha and the hCaptcha Privacy Policy and Terms of Service apply.