Everyone needs one cutting board to show off to guests, covered in cheeses, crackers, sweets or any other little delicacy. Charcuterie boards are becoming very popular as aesthetically pleasing ways to present snacks at parties, picnics or just relaxing in bed at home.
A little while ago we discovered a fascinating product called a Scorch Marker. If you’ve ever been interested in wood burning but need an easy way to start, look no further! Check out how we use one in this project.
Materials needed:
- A Custom Adhesive Stencil
- Unfinished wood cutting board (we got ours from Michaels)
- Scorch Marker (you can also get these at Michaels or Amazon)
- Heat gun
- Sandpaper
- Food-safe wood finish
- Rag

How to make your own charcuterie board
1. Sand and prep your cutting board
Before starting with our Scorch Marker, make sure you have a clean and smooth surface. Use a fine grit sandpaper and wipe away any dust with a rag or microfiber cloth.

2. Peel and place adhesive stencil
Carefully separate your adhesive stencil from its backing (if you need more info on how to do this, check out our article on adhesive stencils). Place the stencil in the center of the cutting board and smooth down all pieces with your hands or a cylindrical object like a rolling pin.

3. Color in stencil with Scorch Marker
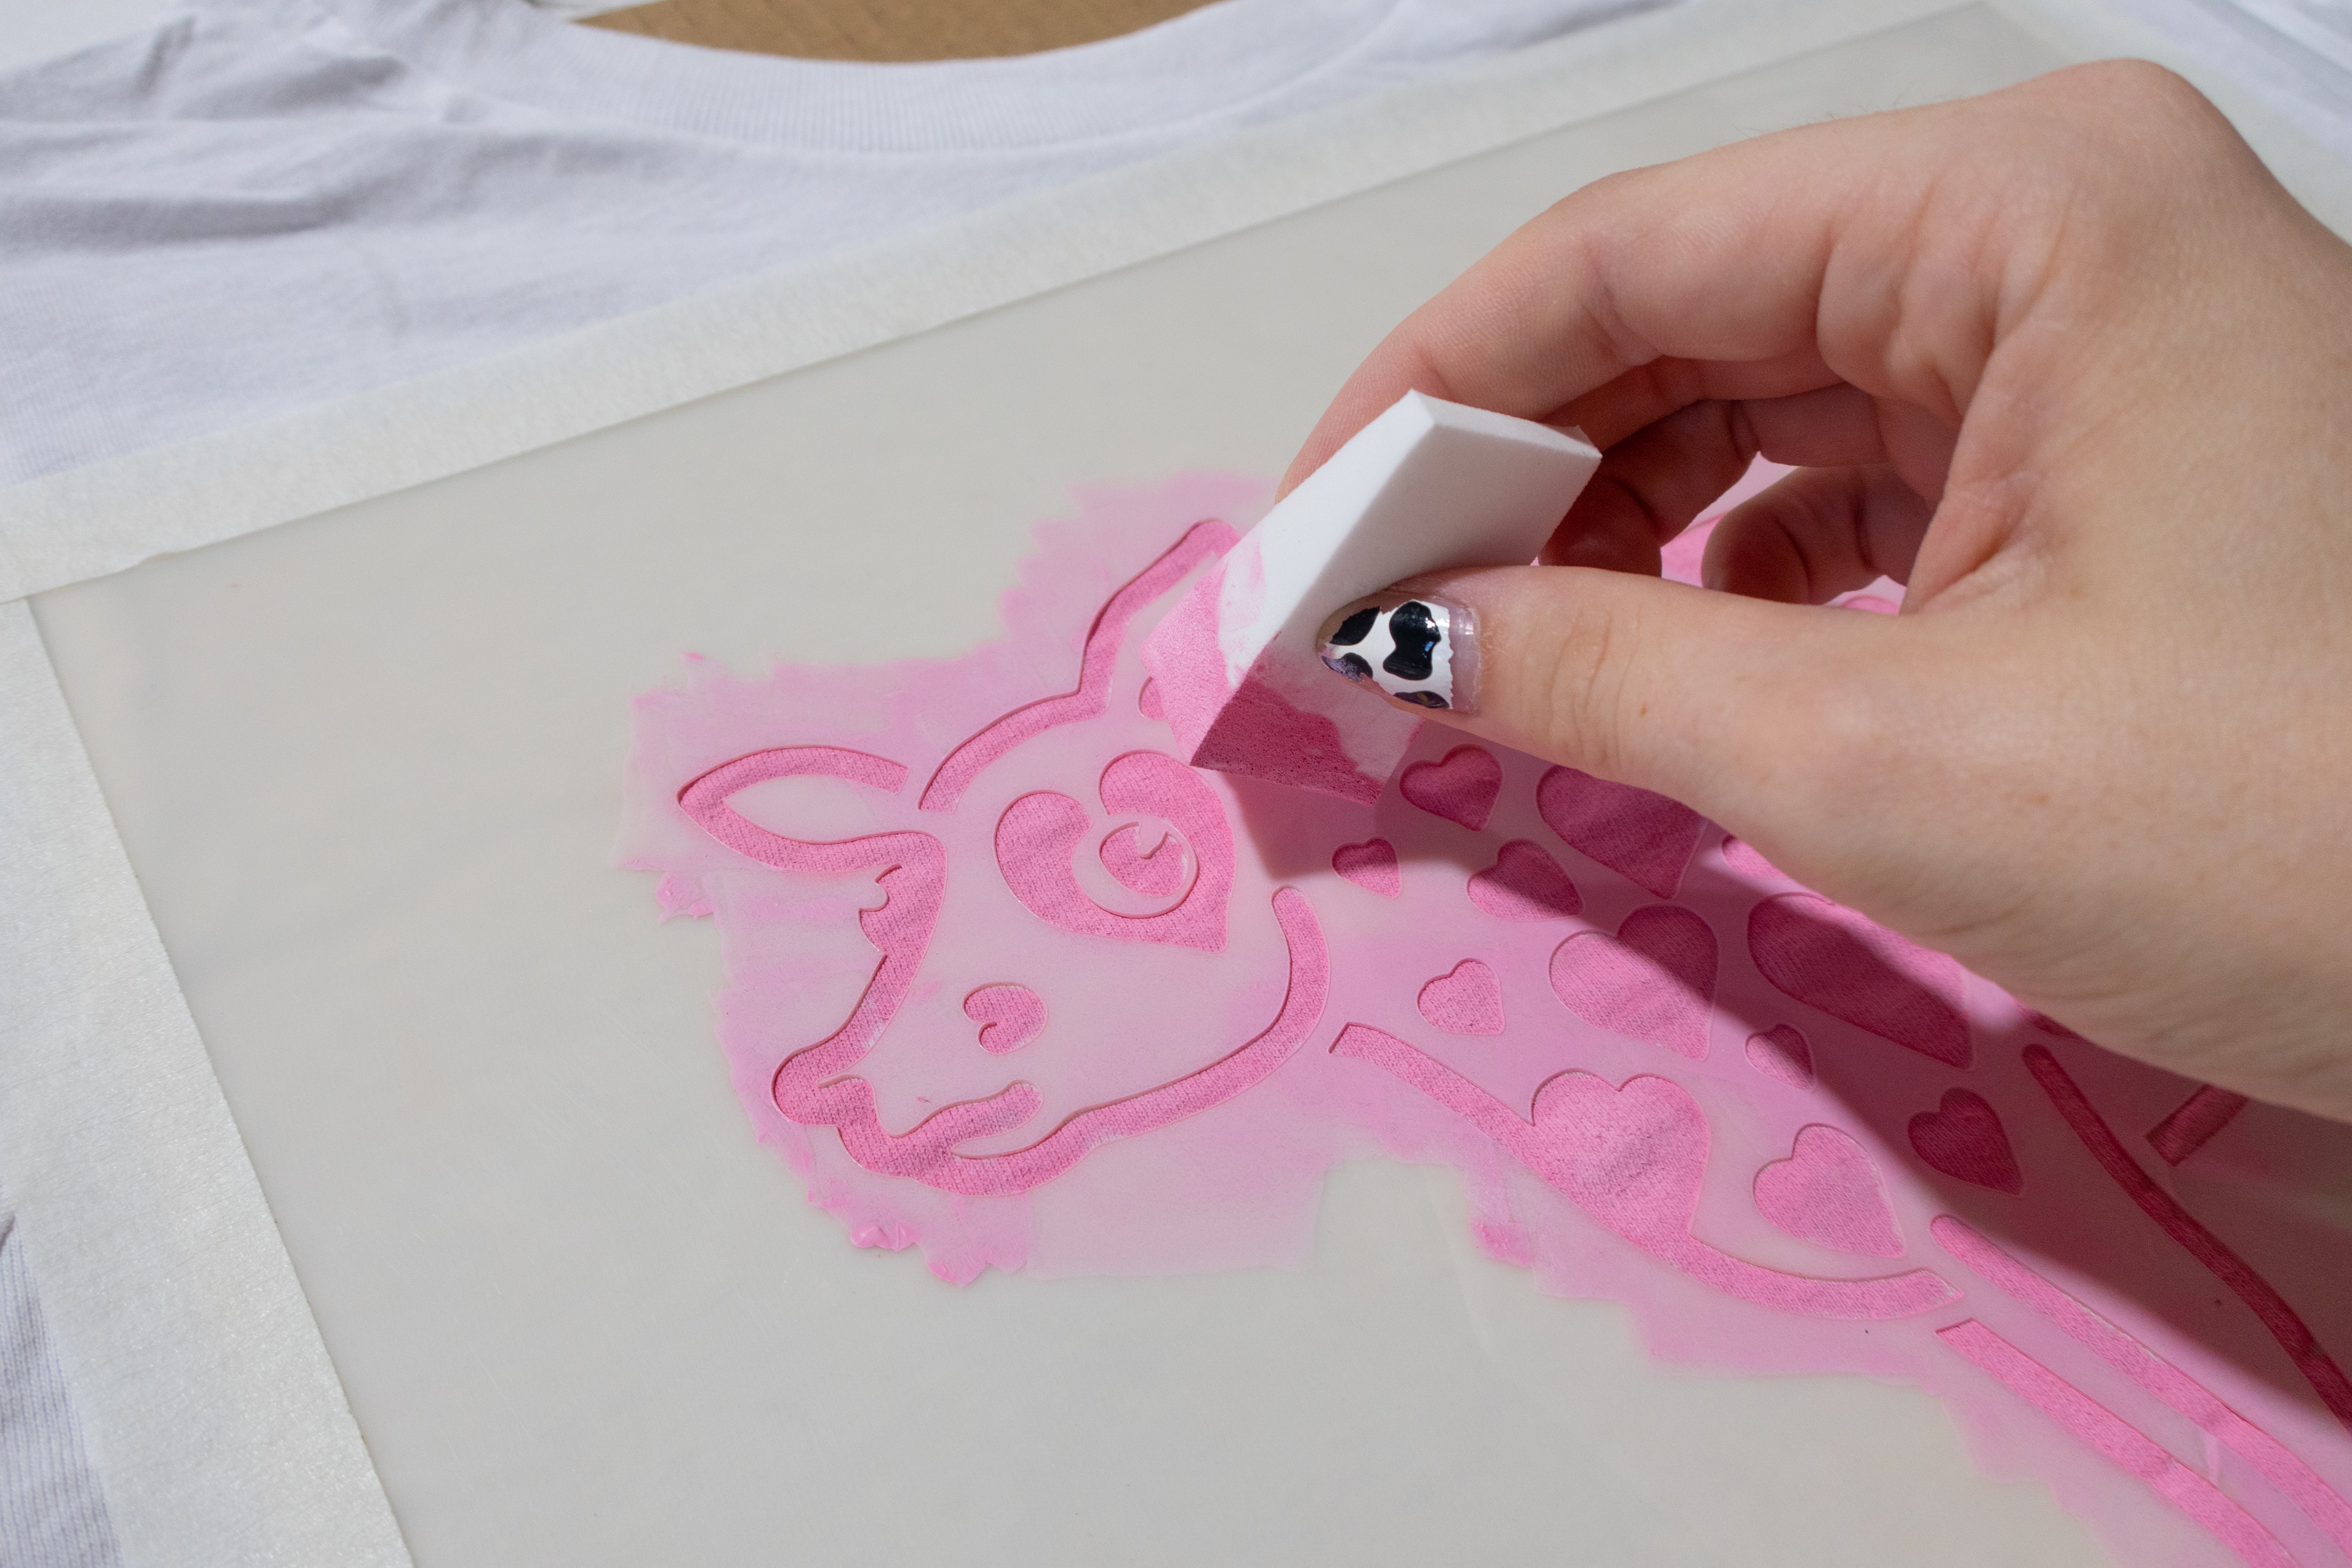
Your Scorch Marker has two ends: a felt nib and a sponge applicator. You can use either one for this project, whichever you use is up to you. We used both ends to cover our design!

Like a regular marker, color in your stencil on the cutting board. Make sure to get into every detailed area for full coverage.

4. Activate with heat gun
The Scorch Marker is activated with a heat gun. After using it, the colored-in areas will be burned into the wood and you’ll be left with a permanent design.
Preheat your heat gun on high for a minute or two. Then hold the gun a few inches over your cutting board and make sweeping motions across your design.

Be sure to take your time, or else you can end up with over-burned areas. Heat the wood one minute at a time, allowing the wood to cool in between heating sessions. This will prevent the wood from shrinking and bowing like this:

As you move the heat gun over the top of the design, it will gradually turn to black before your eyes.
5. Rub with food-safe cutting board finish
Before using any liquids/waxes on your wood, wipe away any dust or debris from the burning process.
In order to protect your board and beautify the wood, we recommend finishing the wood with a food-safe finish. We used one that is a mix of beeswax and orange oil.
Squeeze a teaspoon at a time of the waxy finish onto a rag and drag it across the wood to permeate it. This will bring out the color of the wood and protect your design.

The final stage of this process is the most fun: dressing it up! It was donut day at the Stencil Stop office, so we created a charcuterie board for someone with a sweet tooth.

For more ideas, check out the rest of our DIY Blog. And don't forget to Shop our Custom Adhesive Stencils.


2 comments
It seems to be Howard Feed N Wax Wood Polish & Conditioner
Lucy
What is the name of the food safe oil you used?! Thank you
Ceci
Leave a comment
This site is protected by hCaptcha and the hCaptcha Privacy Policy and Terms of Service apply.