Silk Screening with Adhesive Stencils
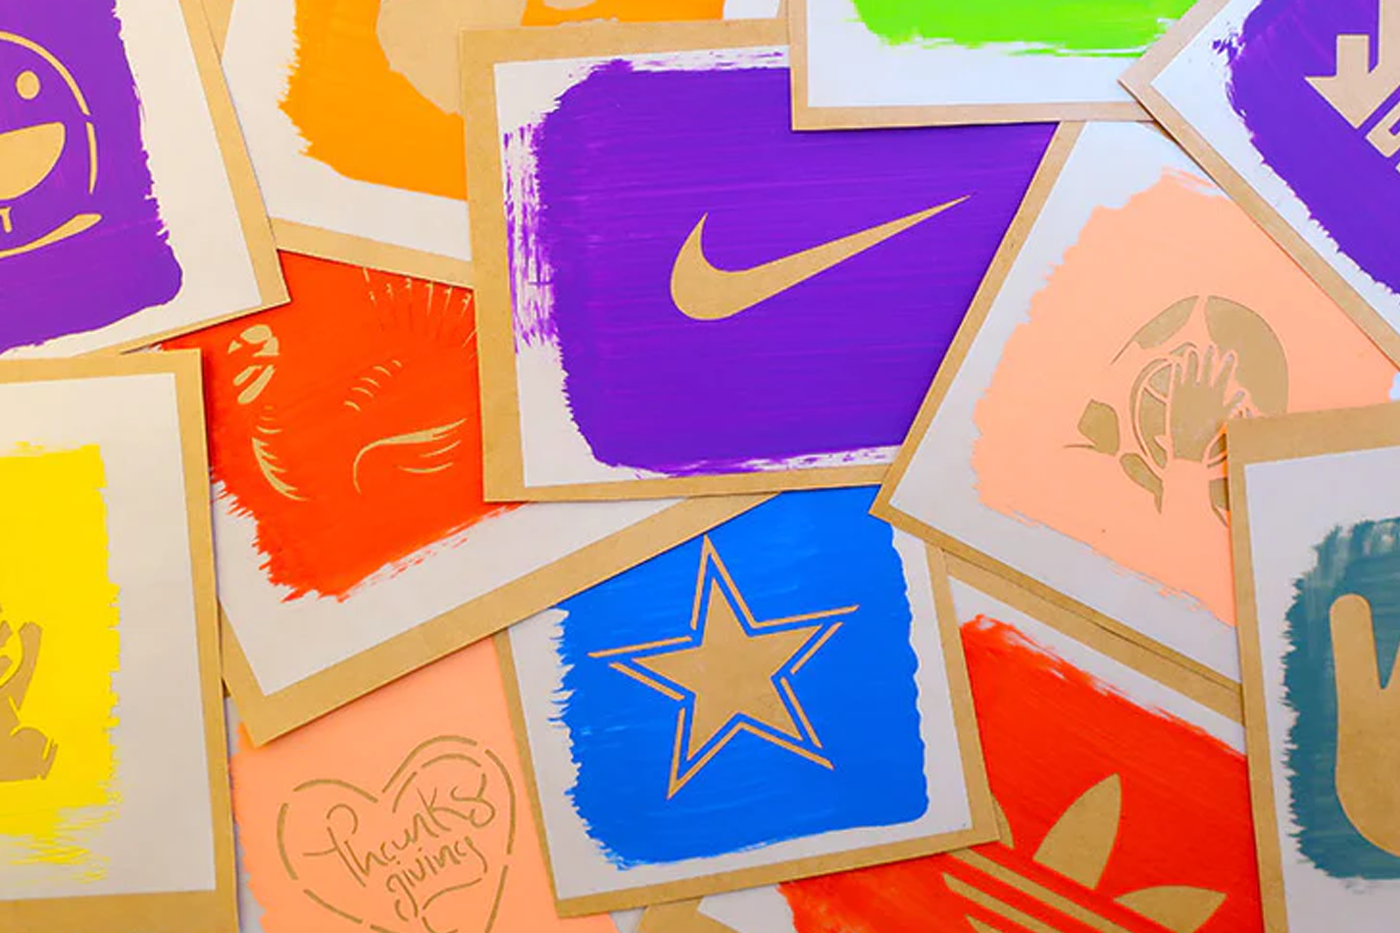
Normally, silk screening (also called screen printing) is a process involving chemicals, light sensitive materials and lots of setup. We’re going to show you how easy and accessible silk screening can be with the use of our adhesive stencils!
Adhesive stencils work very well for all types of fabric projects such as this apparel tutorial. By placing an adhesive stencil on a silk screen, we’ll be able to mimic the classic silk screening method without using any chemicals or complicated techniques. It’s an easy and affordable way to put any design onto a t-shirt or other fabric.
We made this awesome bucket hat with our finished fabric! This is just one example of all the possible ways you can utilize this technique. We used it to make the design on the fabric, which we then sewed into a summery bucket hat.
How to Silk Screen Fabric with a Stencil

Materials You Need
- Your custom adhesive stencil
- Fabric of your choice (we used cotton canvas)
- Fabric paint/ink (we used Speedball printing inks)
- A silk screen
- Silk screening squeegee
- Acrylic paint pen
- Clamps
- Iron & ironing board
Usually, silk screening can be an expensive process. By using an adhesive stencil, you can cut down on the cost of burning the mesh of the screen. Traditionally, a design is burned into the screen’s mesh and therefore can only print that one design until the mesh is replaced. With stencils, you can simply remove the stencil and place a new one. It’ll decrease your cost over time because you will not need to replace the mesh as often (and decrease your time spent replacing the screen!).
The Process of Using Stencils with Silk Screens
Step 1: Set-up your materials
Check out this article on adhesive stencils If you’ve never used them before - you’ll learn the basics of handling them as well as their advantages.

The only prep your fabric needs is for it to be ironed. A flat surface will be the easiest to print onto. I clamped the fabric down onto a table so it wouldn’t slip, any kind of clamp will work.
You can also prep your paint. I mixed white and red to make an appropriate pink for my project.

Step 2: Place your stencil on the silk screen
When ordering your stencil, we recommend ordering the same size design as your screen if you are planning on making a repeating pattern. If you need help peeling your stencil from its backing, check out our video on this page.
Once the stencil is peeled and carefully placed on the backside of the screen, make sure to smooth down the stencil as much as possible in order to prevent paint bleed.
Step 3: Pull ink across the silkscreen
If you know anything about silk screening, you will know that ink is laid on one end of the screen then pulled across the design with a squeegee. We’ll be doing the same thing!
Place the screen stencil side down on the fabric. Here is another opportunity to run your hand across the mesh to make sure the stencil is evenly adhered.
Make sure to spread your paint evenly and all the way to the edges of the frame.

This is the biggest piece of advice when screen printing: Press hard! Pressing hard will help the ink go through the screen and stick to your fabric. You want to squeegee your ink from left to right, pressing hard the whole time.

Don’t be afraid to go over the screen multiple times in order to get the color even. You can also go from top to bottom with the squeegee to cover the entire area.
Step 4: Reveal the print
Carefully lift up the screen and reveal your first print! Wait for it to dry before continuing with the next step.

Step 5: Repeat the print
For this project, we’re going to be creating a repeating pattern that will later become fabric for a hat. Repeating the pattern is easy, simply match up the edges and do a second print. After 2-3 prints, I recommend washing some of the ink off of the screen and drying it, because the mesh will get clogged.

If you happen to miss a little when printing, just use a paintbrush and a little bit of printing ink to connect missing areas.
Step 6: Add some details!
These worms needed faces! So with an acrylic paint pen I added some little smiley faces and details. So cute!

Step 7: Sew up the hat
Before cutting up the fabric, we recommend ironing the design to heat-seal it into the weave of the fabric.
We used this pattern and tutorial. We’re stencil experts, not sewing experts, so we recommend you follow their instructions.

Woohoo, we’re done! We started out with a stencil and some fabric, and now we have a new accessory that we’ve made from scratch. If you have any questions, feel free to email us or DM us on social media. Happy stenciling!
%20is%20a%20process%20involving%20chemicals,%20light%20sensitive%20materials%20and%20lots%20of%20setup.%20We%E2%80%99re%20going%20to%20show%20you%20how%20easy%20and%20accessible%20silk%20screening%20...)
1 comment
I want to update on how you use the stencil
JOSEPHA TAMETALONG
Leave a comment
This site is protected by hCaptcha and the hCaptcha Privacy Policy and Terms of Service apply.